Creating a session manually
You don't have to wait for a client to book a slot: you can add an appointment yourself, straight from the agenda. It's the fastest way to schedule a session with an existing client, or to log a session that has already taken place.
Understanding the manual session
Creating a session by hand is exactly the same as an online booking, except that you are the one scheduling it, for an existing client. Depending on the date and channel, the session will be scheduled (upcoming) or logged as already held (past).
The form adapts to the session type you choose: it's the type that determines the possible channels (in person, video, phone…) and, for video, the meeting link. As long as no type is selected, the Channel field stays hidden. Your notes are kept as is, and you'll be able to generate an AI summary from the session file once it's created.
Creating the session
- In Agenda, click New session (top right).
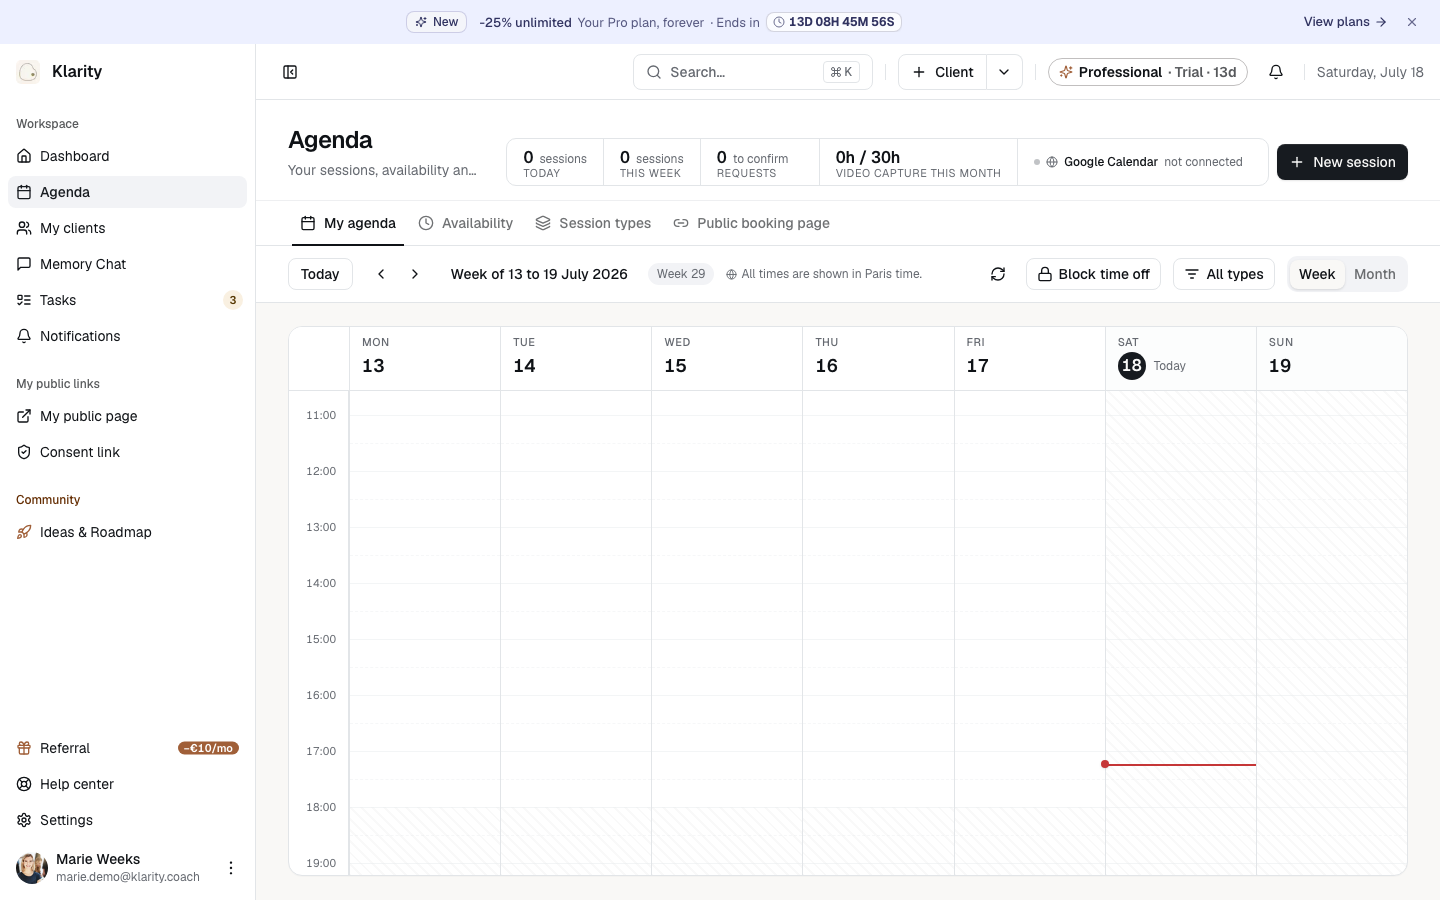
- Select the client: type the first letters of their name to find them in the list.
- Choose the session type. The Channel field then appears and sets itself automatically to the type's mode. If the type leaves a choice (in person or video), you can select the channel you want.
- Fill in the date and time. Times are expressed in your time zone (the one in Settings › Profile and account › Localization).
- If the session will be recorded and you collected the client's consent verbally (in person), use the Client consent block to attest it. See the details below.
- Add your notes (optional): what was covered, points of attention. They are kept as is.
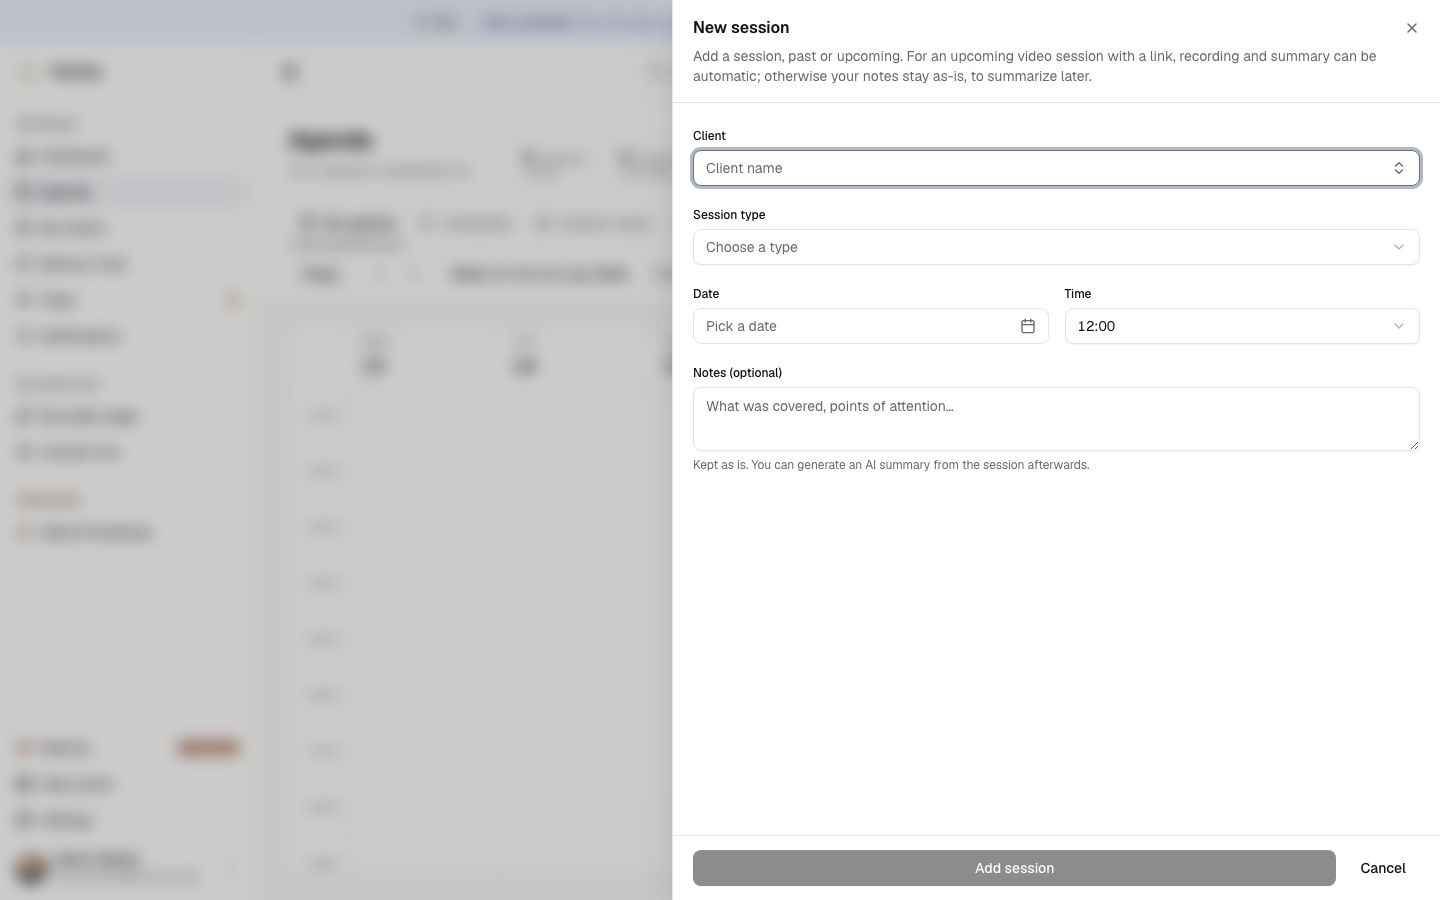
- Click Add session. Klarity opens the file of the session you just created directly.
What changes depending on the date and channel
The session status depends on when you place it:
- Upcoming date → the session is scheduled and appears in your calendar.
- Past date → the session is logged as already held; no email is sent to the client.
For an upcoming video session, Klarity turns on automatic recording as soon as a meeting link is resolved, in three cases:
- the session type uses Google Meet and your Google Calendar is connected → a Meet link is generated for you, nothing to paste;
- the session type has a Zoom or Teams room saved → that room is reused;
- you paste a one-off video link in the dedicated field (useful outside your usual types).
In those cases, the channel locks onto Recorded video: the session will be captured on the day.
Attesting the client's consent
Automatic recording remains subject to the client's consent. The Client consent block of the form lets you attest it if you collected it verbally (typically in person).
What next?
On the day, open the session to capture it or complete your notes. Its journey then follows the usual lifecycle (recording → processing → summary), and you can generate an AI summary at any time from the file.
Related articles
Updated on: 19/07/2026
Thank you!